
If you have ever recorded a great video and then realized the background looked messy, distracting, or just completely wrong, you are definitely not alone! This happens all the time. The good news is that learning how to remove background in CapCut is actually much easier than most people think.
CapCut gives you a few simple ways to remove or change a background, whether you are editing a short social media clip, a product video, a tutorial, or a presentation. You do not need to be a professional editor, and in many cases, you do not even need a green screen to make it work. The best part is that CapCut offers both quick automatic tools and more controlled options, so you can choose the method that fits your video.
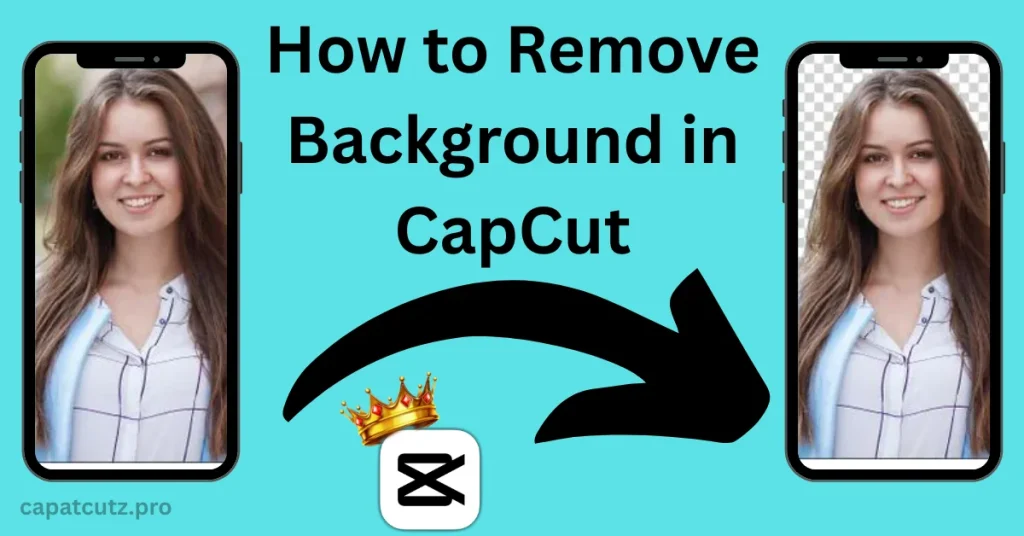
Why people remove backgrounds in CapCut
There are plenty of reasons someone may want to remove a background from a video. Sometimes the original background is just too busy and takes attention away from the main subject. Other times, creators want to place themselves in a different setting or create more professional-looking visuals. Removing the background can help with things like:
In short, a cleaner background often makes a video look more polished right away. And honestly, that alone is enough reason for a lot of people to want this feature.
Does CapCut have a background remover?
Yes! CapCut includes built-in tools that let you remove backgrounds directly inside the editor. Depending on your video and the type of shot you are working with, you can usually use one of these methods:
If your subject is clearly visible and separated from the background, CapCut’s automatic background removal can work surprisingly well. If your video uses a green screen or a solid color backdrop, Chroma Key usually gives you more control.
How to remove background in CapCut using Auto Cut
If you want the fastest and simplest way, this is usually the best place to start. Auto Cut is designed for people who want CapCut to detect the subject and remove the background automatically. It works best when the person or object in the video stands out clearly from the background.
Step 1: Install and Open CapCut
Start by Capcut Installing and after installation, Open CapCut on your device. This can be on desktop, mobile, or in some cases the browser version, depending on where you are editing.
After that Create a new project and upload the video you want to edit.
Step 2: Add video to timeline
Once the media is uploaded, drag it into the timeline so you can begin editing. Make sure the clip is selected before moving to the next step.
Step 3: Background removal tool
With the clip selected, look for the option that relates to background removal. In many versions of CapCut, this appears under:
- Video → Cutout → Remove BG → Auto removal → Auto cutout
The wording may vary slightly depending on the version you are using, but the feature is generally easy to find once your clip is active.
Step 4: Let CapCut process
Tap or click the automatic background removal option and let CapCut analyze the clip. The app will try to identify the main subject and remove everything behind it.
Step 5: Manual Editing
Sometimes the automatic tool gets very close but not perfect. If the edges look too sharp or a few areas are missed, CapCut may give you controls such as:
These can help make the cutout look more natural. And yes, this little step can make a huge difference.
Remove background in CapCut using Chroma Key
If your video was recorded with a green screen or another solid color background, Chroma Key is often the better option. It gives more control and usually creates a cleaner result when the background color is uniform.
Step 1: Import your clip
Open your project and place your green screen or solid-background video in the timeline.
Step 2: Select the clip and open Chroma Key
With the clip selected, go to the editing options and look for Chroma Key. This tool is meant for removing a specific color from the video background.
Step 3: Use the color picker
Tap the color picker and select the green, blue, or solid color background you want to remove. CapCut will begin isolating that color from the video.
Step 4: Adjust the settings
This is where you clean things up. Use the available controls to set Strength, Shadow or intensity Adjust these carefully until the background disappears without making your subject look unnatural.
How to Add a new background
Once the old background is gone, you can replace it with something better. This is where things get fun. You can add anything from the following
To do this, simply place the new background media on a layer below your main subject in the timeline. Then resize and position things as needed until the composition looks right. This is useful for creators who want cleaner tutorials, more cinematic videos, or more eye-catching content for social platforms.
When background removal works best
CapCut’s background remover can be very helpful, but like most automatic tools, it works better in some situations than others. You usually get the best results when:
If the scene is too busy, too dark, or too similar in color to the subject, the cutout may not look as clean. That does not mean it will fail completely, but it may need more adjustment.
Tips for cleaner results
If you want your background removal to look better, a few simple habits can help a lot. Try to shoot with good lighting and a clear contrast between the subject and the background. Avoid clutter behind the subject whenever possible. If you are using a green screen, make sure it is lit evenly and does not cast shadows.
Also, if your subject is moving too quickly, the edges may not stay perfectly smooth. Slower, cleaner footage always works better. Honestly, good raw footage makes editing easier every single time.
Can you remove background in CapCut for free?
In many cases, yes! CapCut offers background removal tools in its editing environment, and several versions allow users to access them without needing advanced editing knowledge. Some features may vary depending on device, region, or version, but the background removal function itself is commonly available.
What if CapCut is not removing the background cleanly?
This can happen. Usually, the reasons are pretty simple:
If that happens, try a cleaner clip, improve the edge settings, or use Chroma Key if you have a more solid background to work with. Sometimes a small adjustment is enough. Other times, the original footage is just making things harder than it needs to be.
Conclusion
If you have been wondering how to remove background in CapCut, the process is actually very manageable, even for beginners. CapCut gives you simple built-in options like Auto Cutout and Chroma Key, which means you can create cleaner, more professional-looking videos without needing complicated software.
If you want the fastest method, Auto Cutout is usually the easiest way to begin. If you are working with a green screen or solid background, Chroma Key can give better control. Either way, once you get the hang of it, removing backgrounds in CapCut becomes one of those editing tricks that feels incredibly useful. And honestly, it can make your videos look much more polished with very little effort.